You Don’t Need the UniFi UTR: How I Took UniFi Gear On the Go with the Beryl AX
Most videos claim you can’t travel with UniFi gear using the Beryl AX. Here’s how I successfully did it — full configuration guide included.

When Ubiquiti released the UniFi Travel Router (UTR), one of its main selling points was simple:
Take your UniFi setup anywhere.
Many reviewers claim that if you want to travel with UniFi gear (mainly cameras), the UTR is the only real solution, or take an entire access point with you on the go — and that routers like the GL.iNet Beryl AX won’t work properly.
But that’s not entirely true.
I tested it.
And I successfully used the Beryl AX to take UniFi cameras on the go.
This post explains exactly how.
Beryl AX vs UniFi UTR
What’s the Difference?
UniFi UTR (Travel Router)
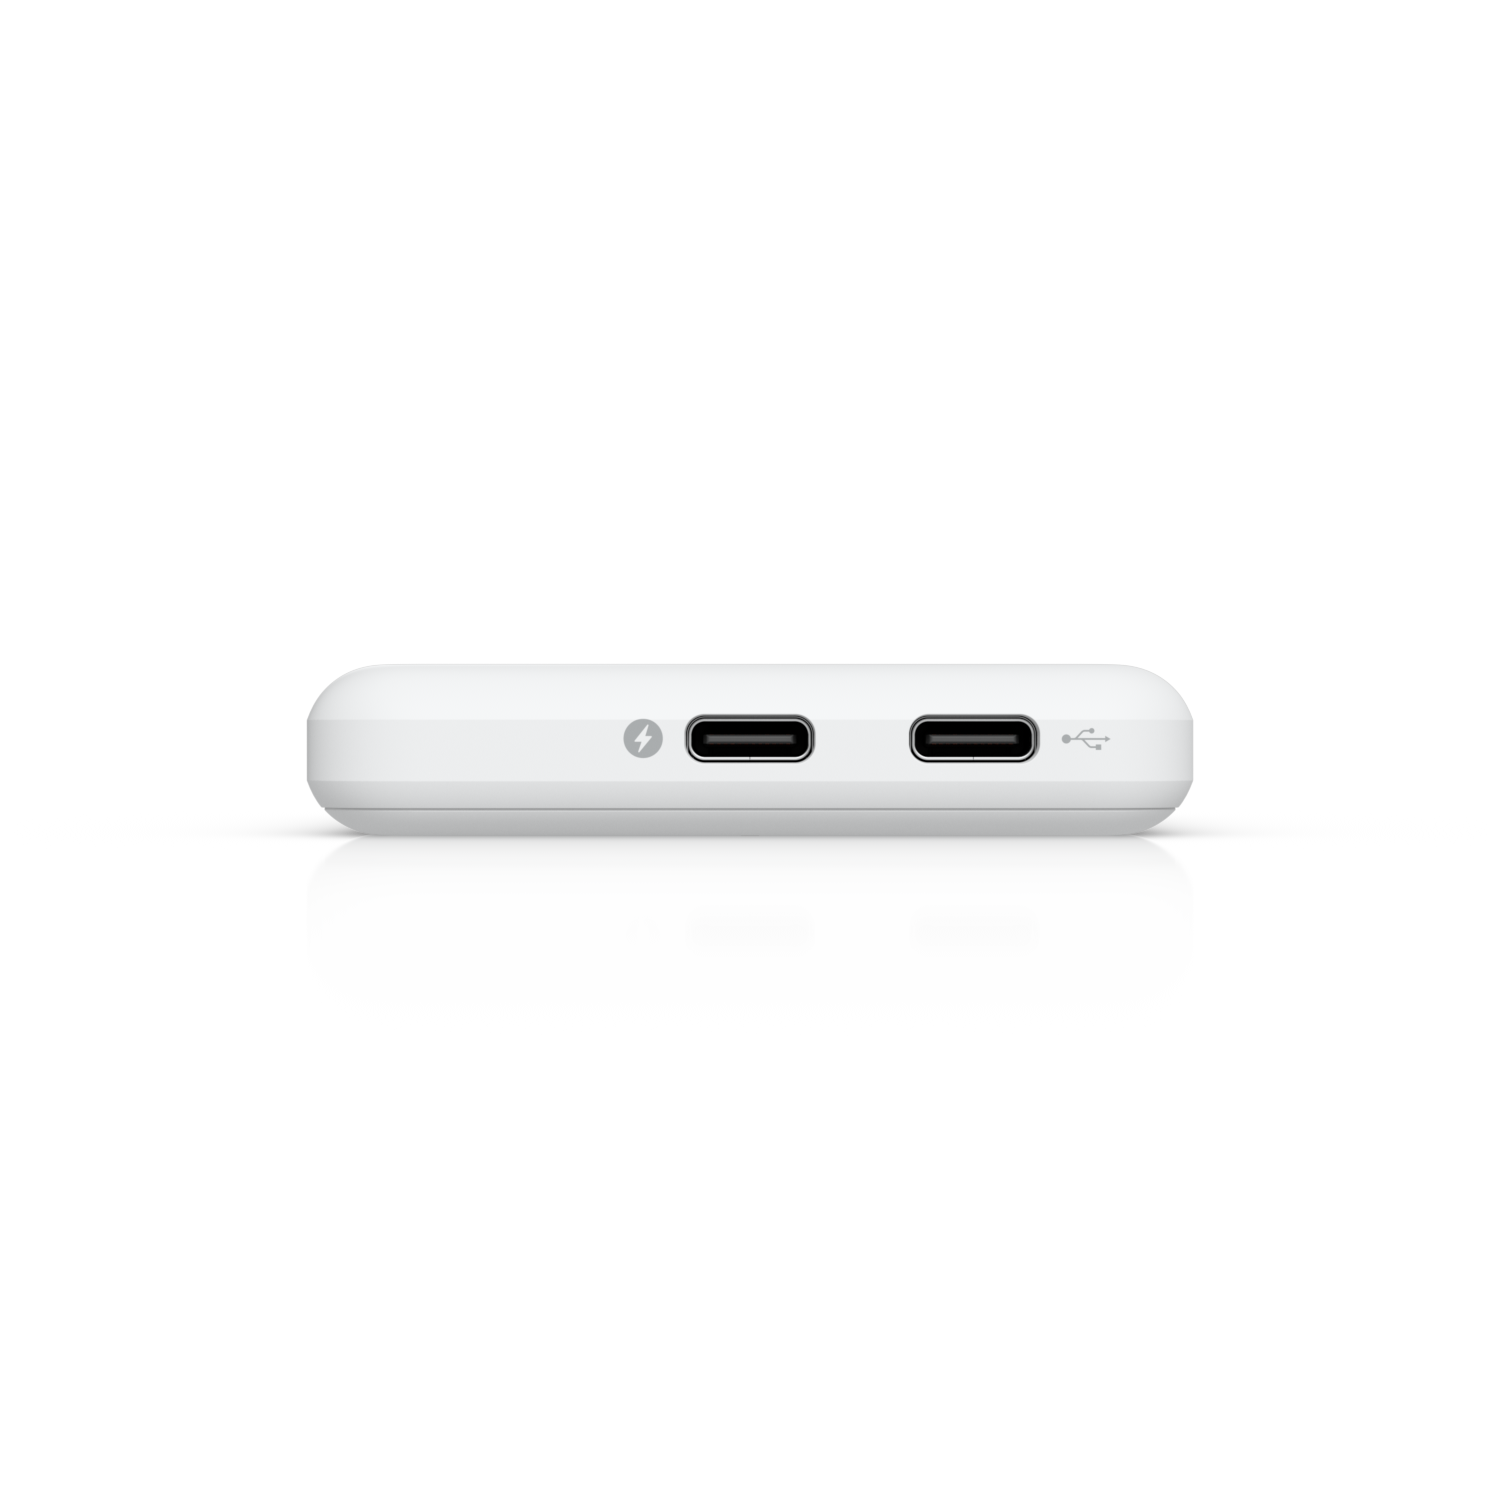
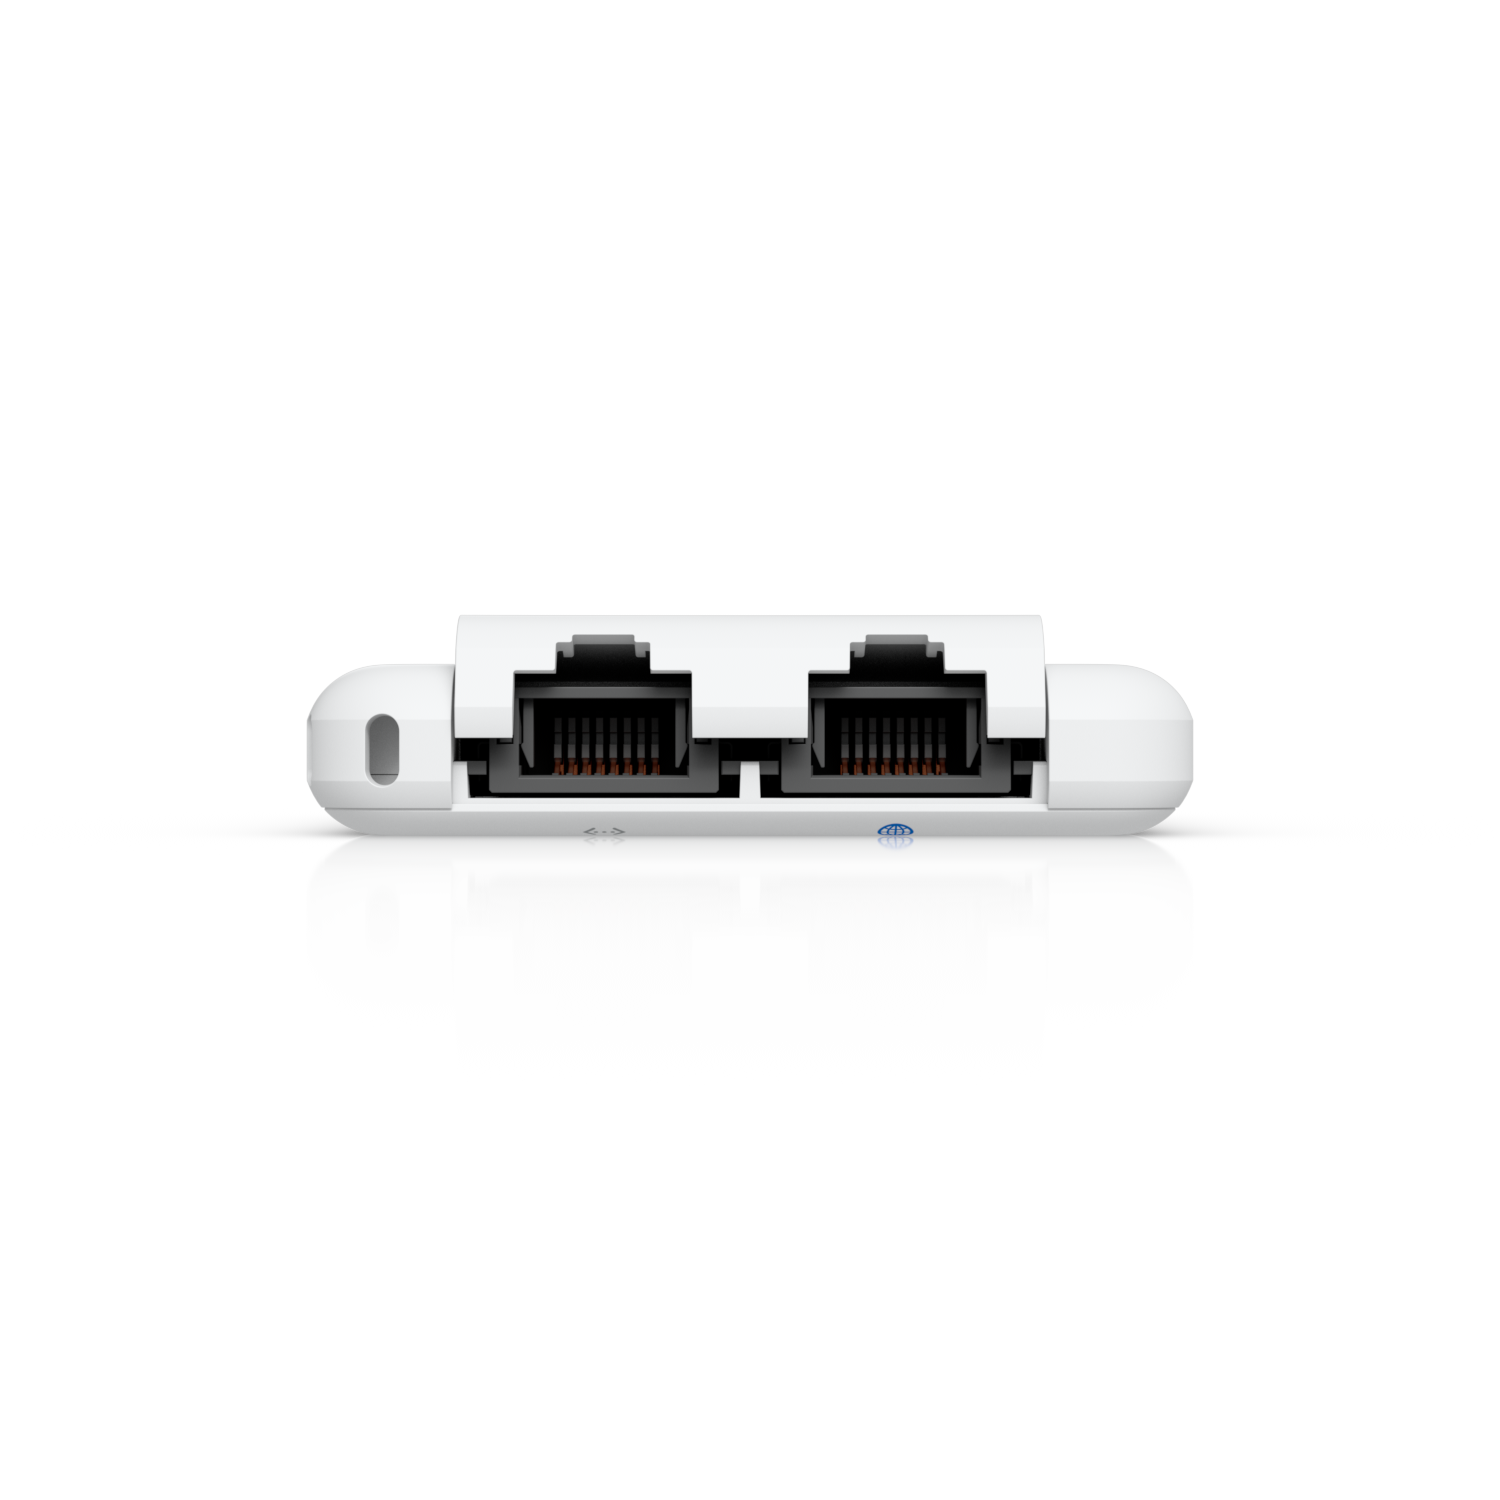
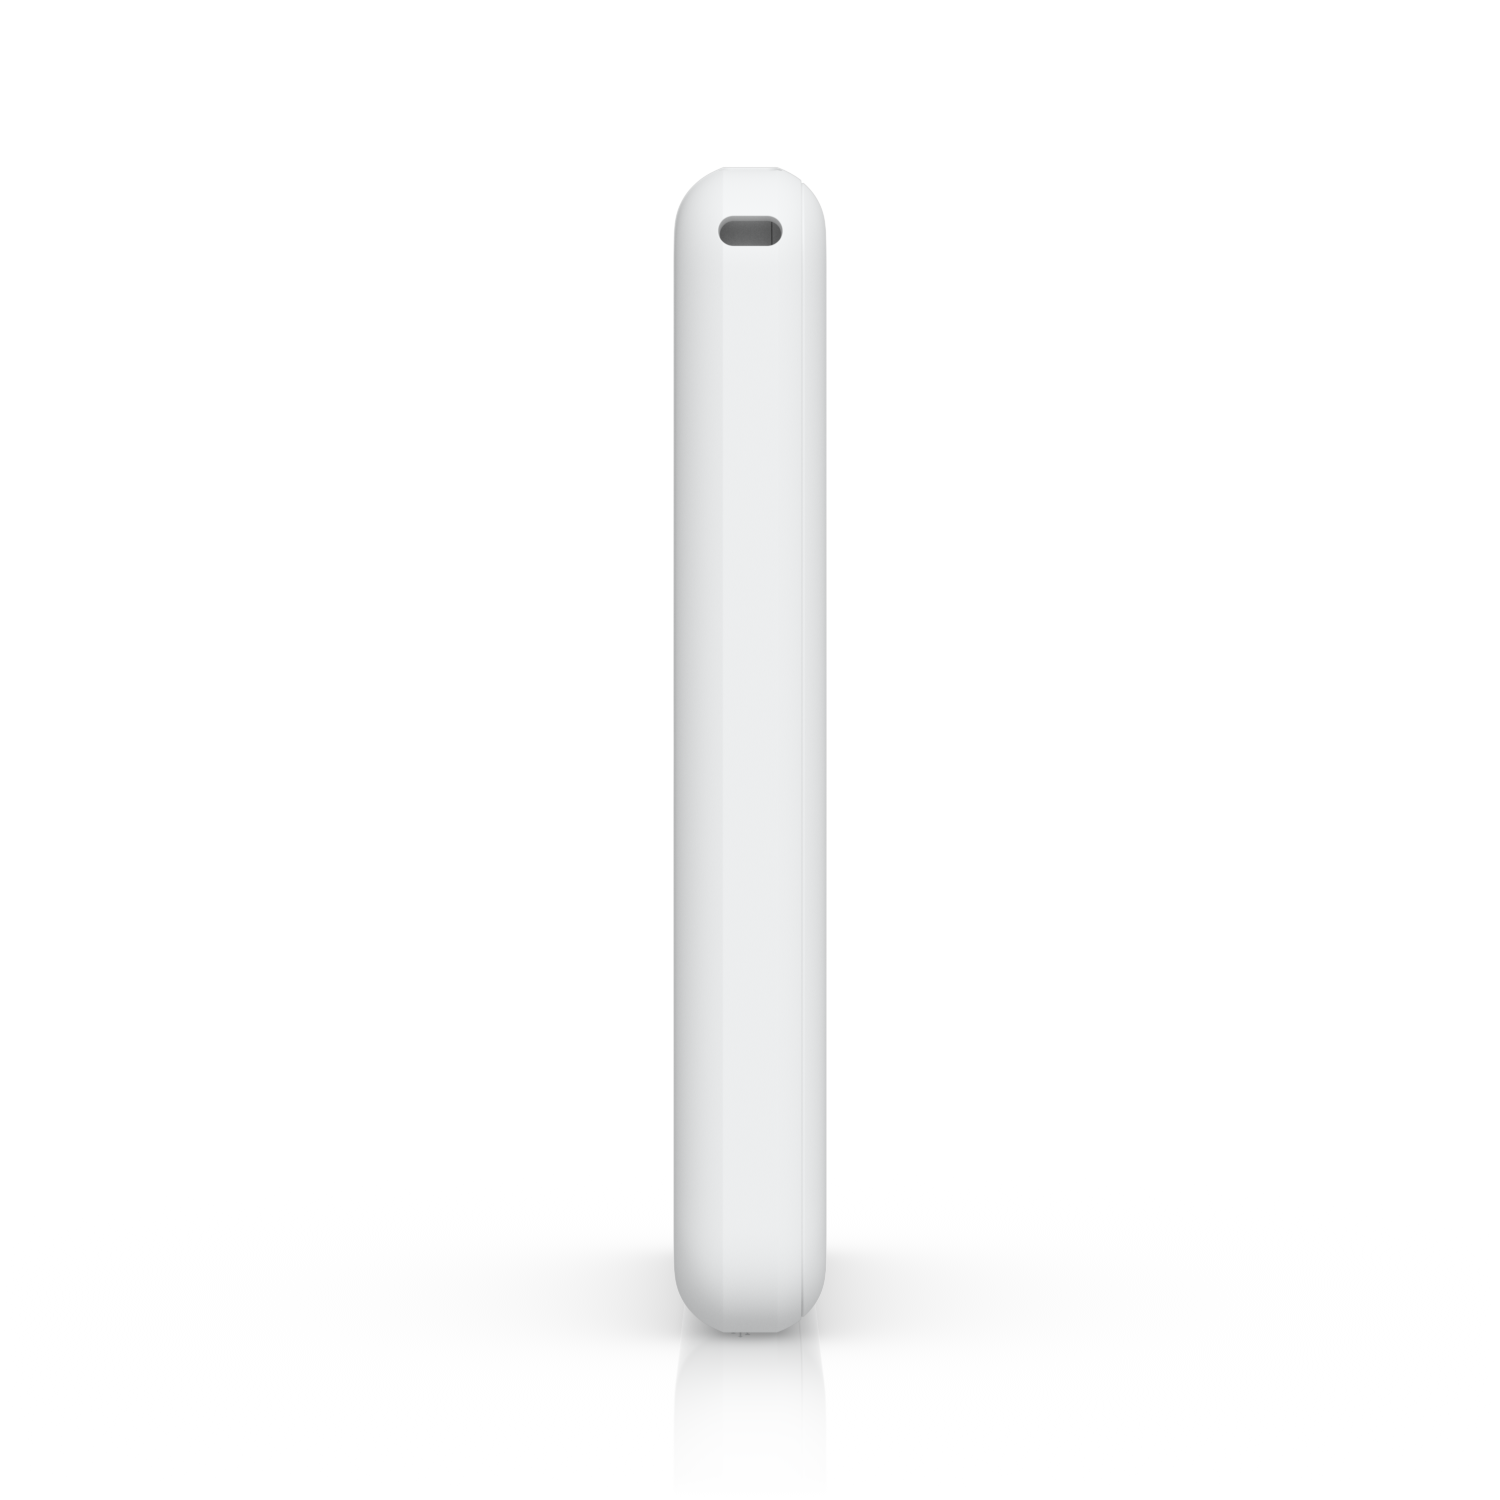
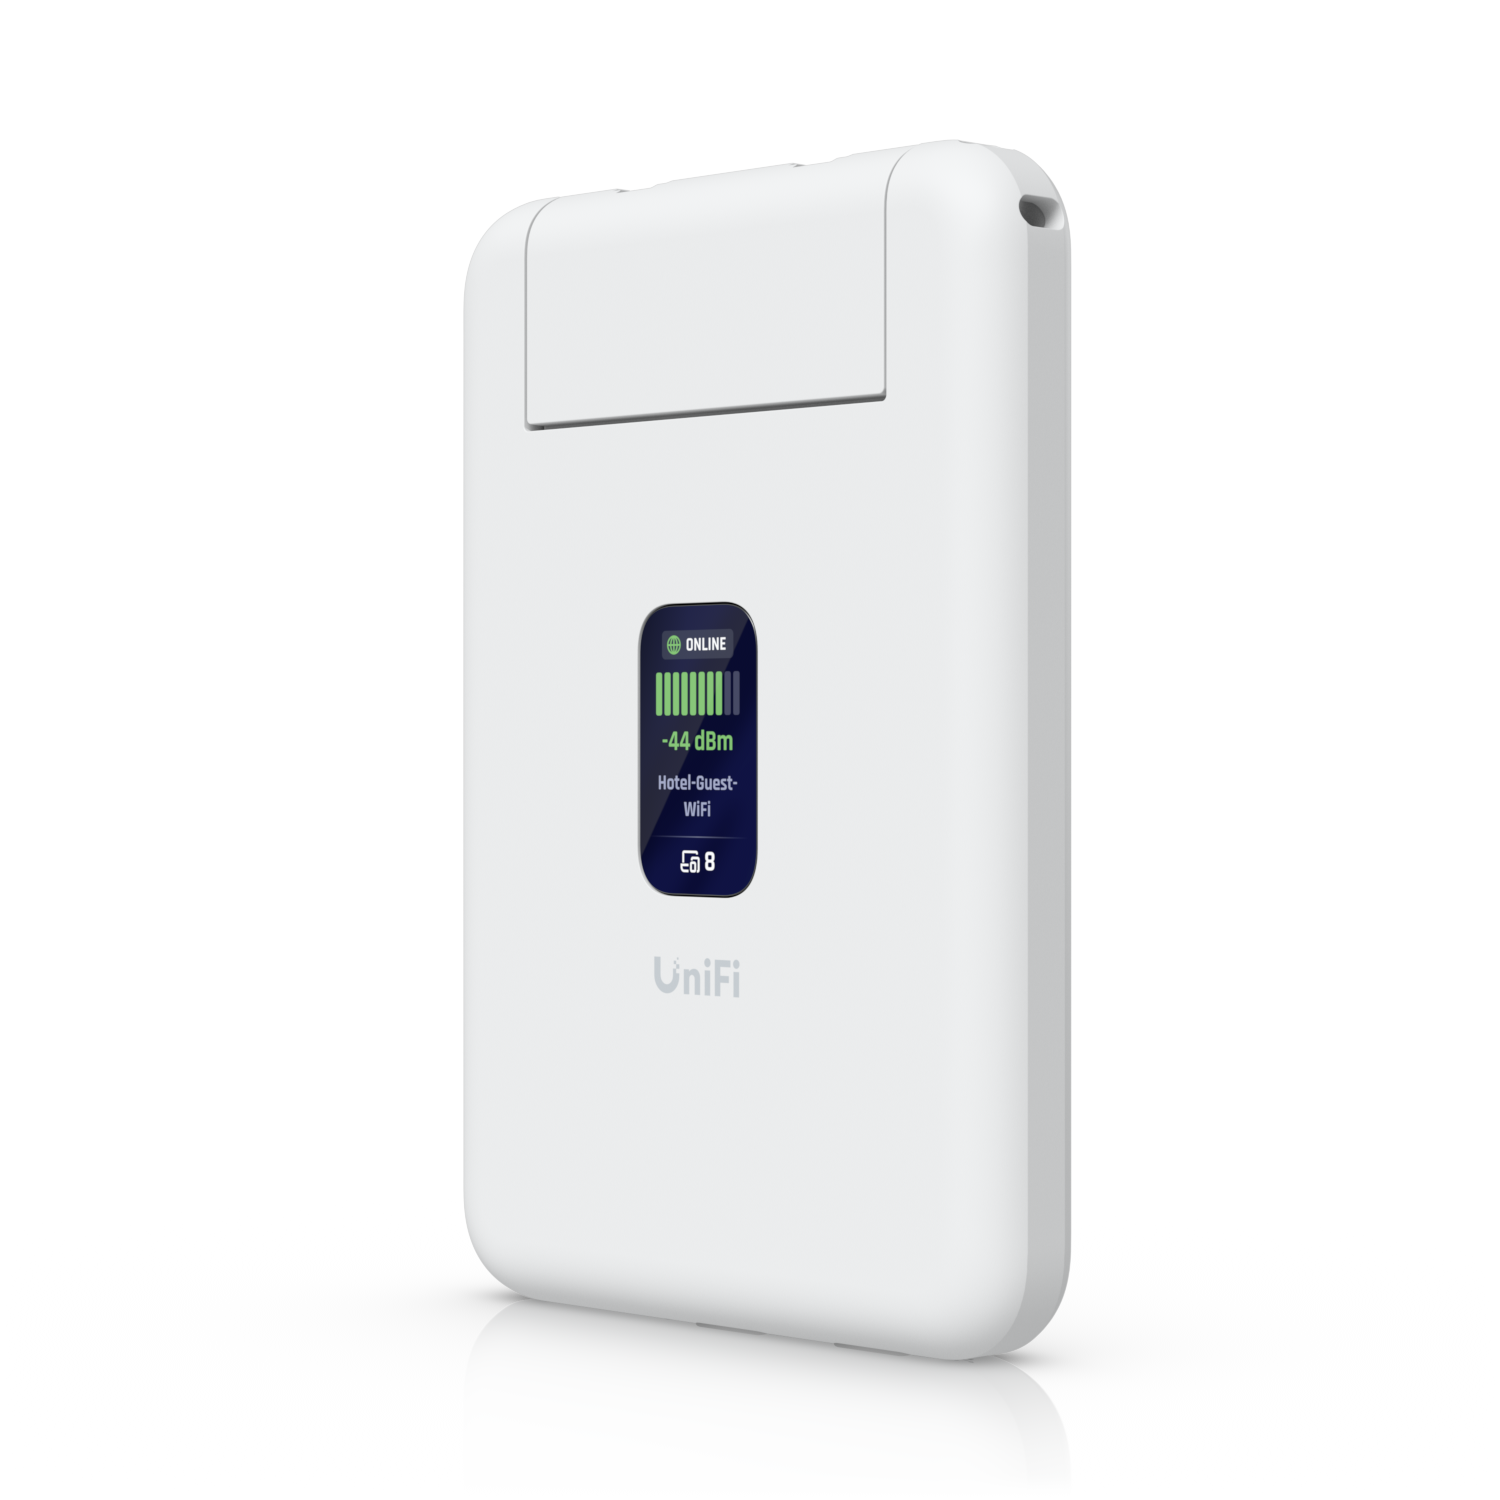
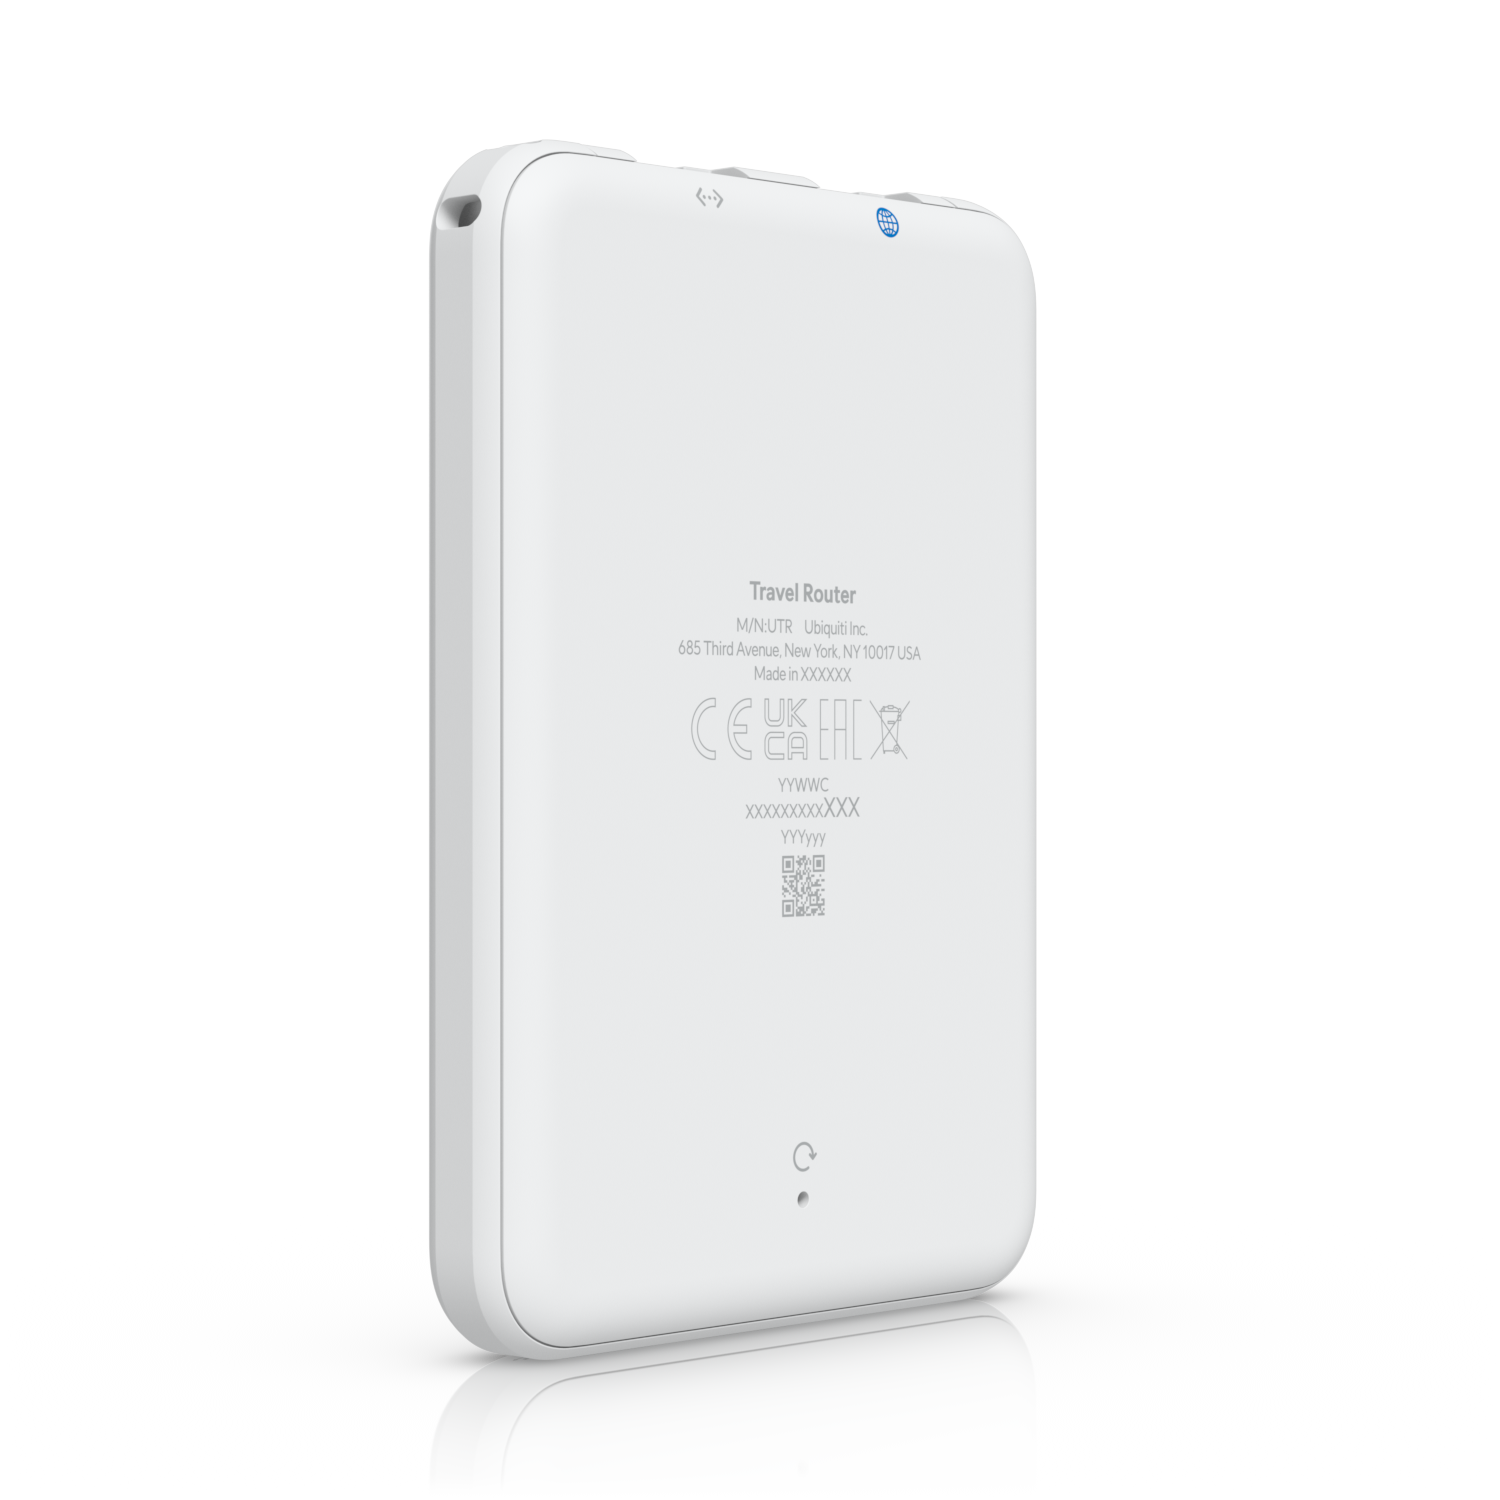
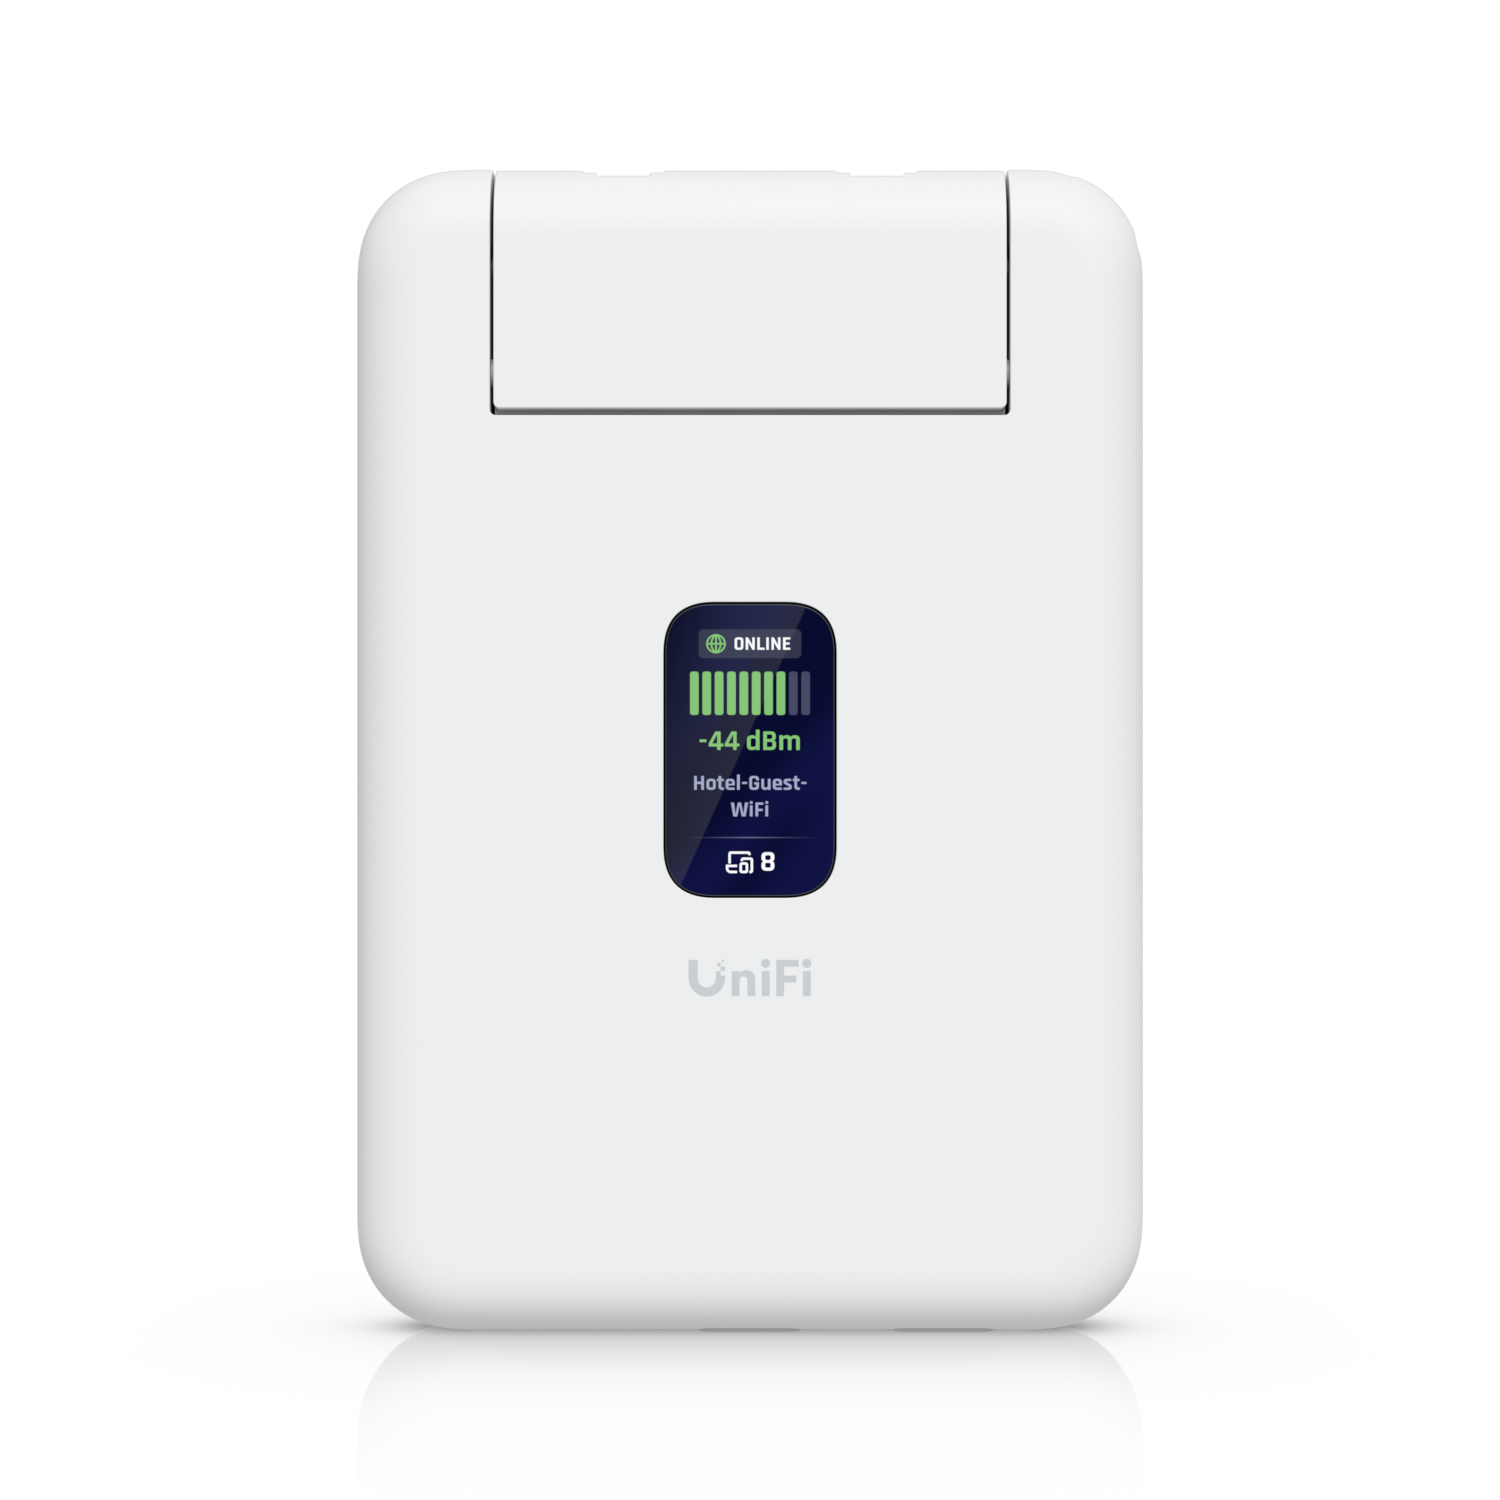
The UniFi UTR is designed to:
- Integrate directly into your UniFi ecosystem
- Sync with your UniFi site
- Support Teleport for secure remote access (Unifi branded VPN)
- Clone your existing Wi-Fi networks (limited to 1 SSID)
It’s purpose-built for people deeply invested in the UniFi ecosystem.
GL-iNet Beryl AX
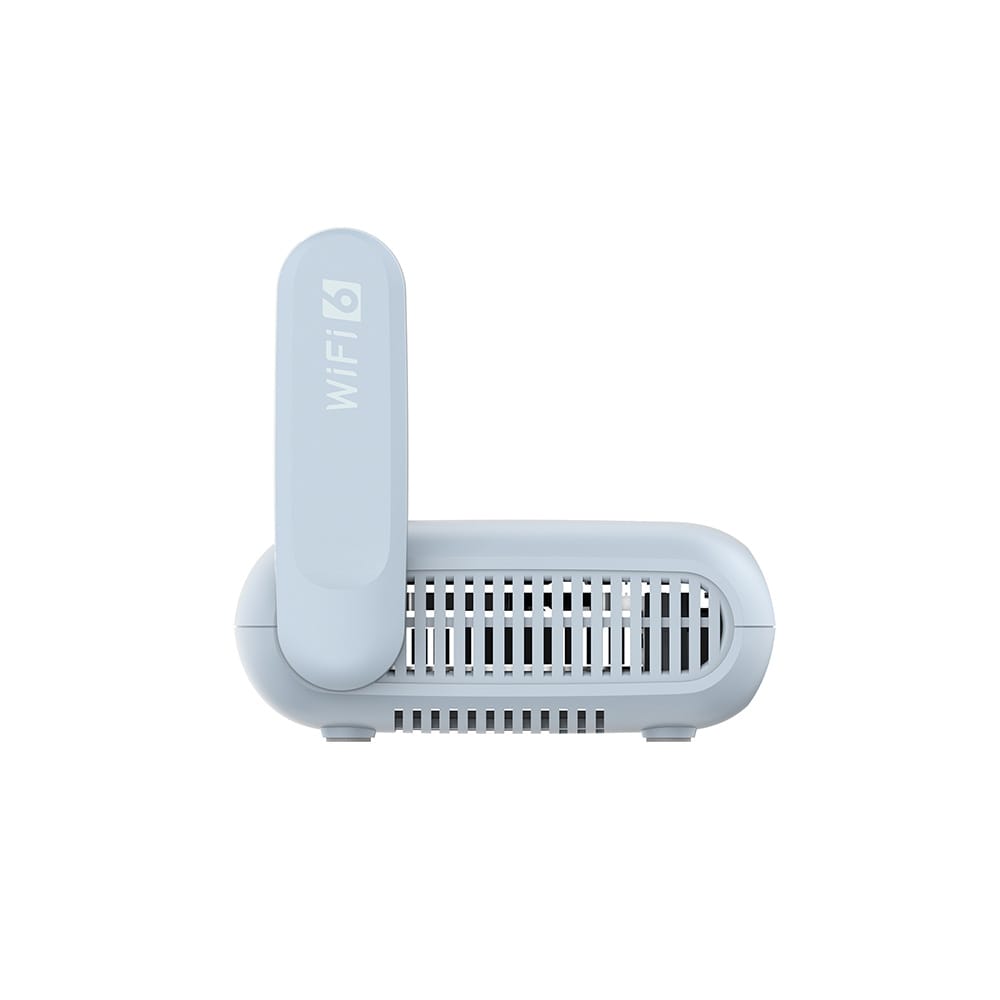
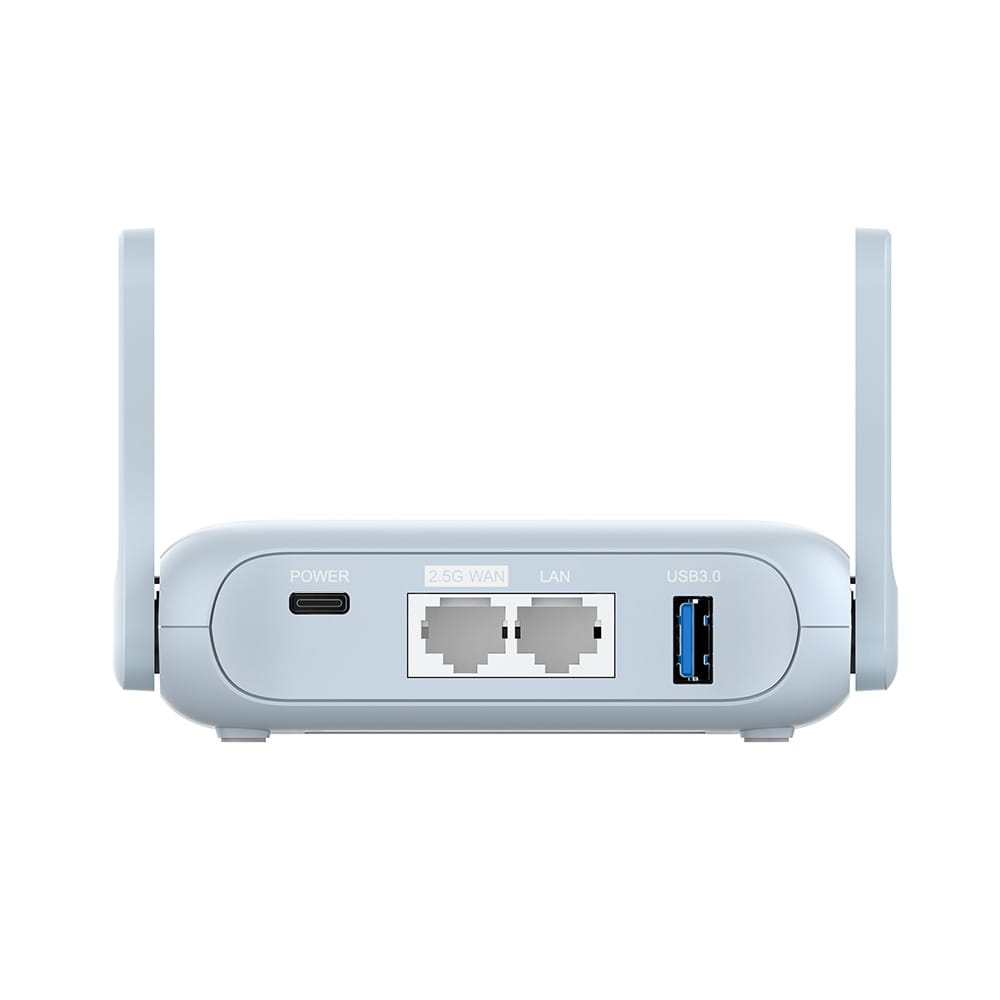
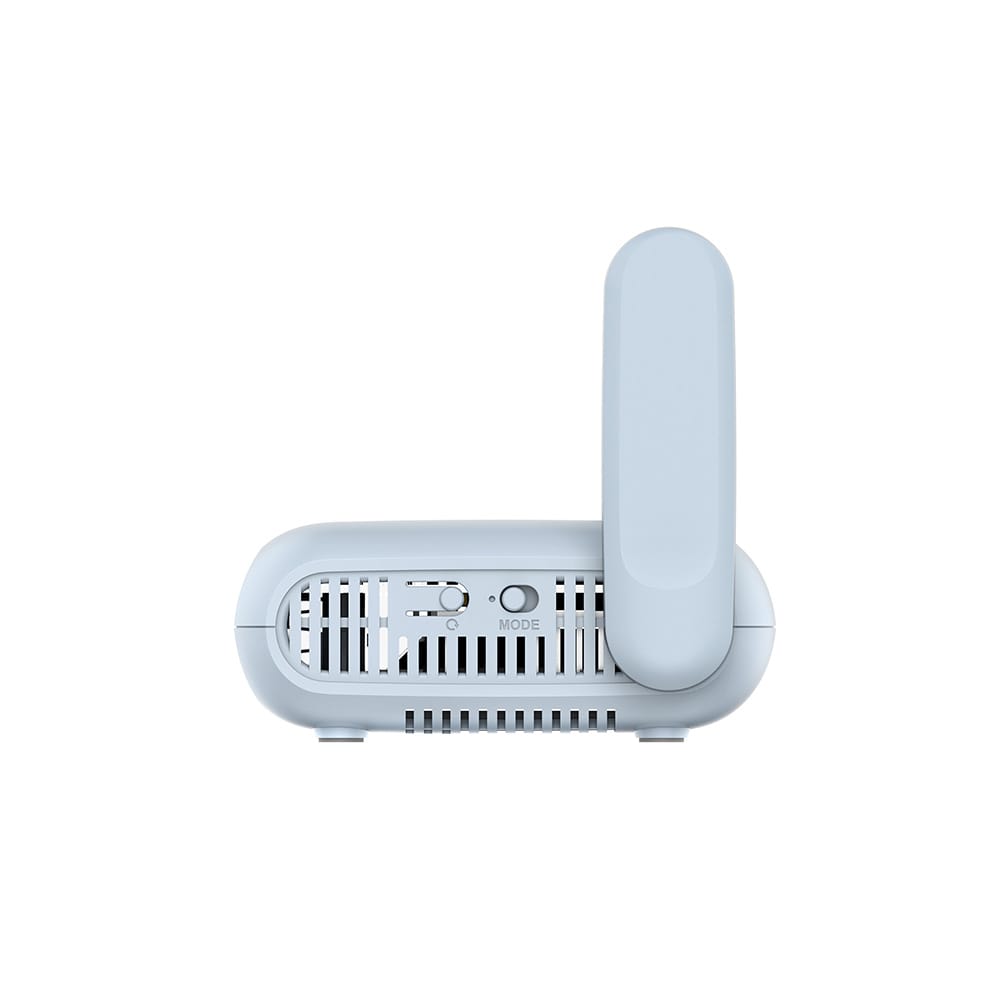
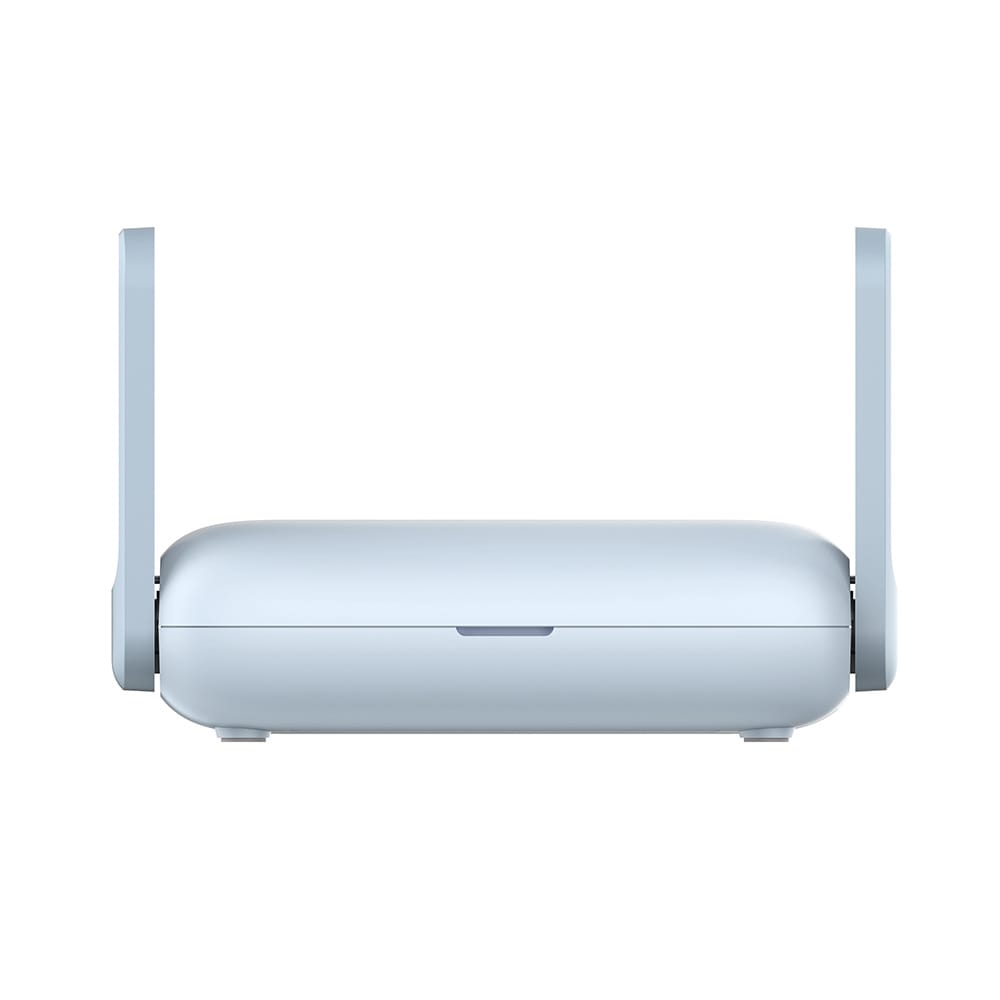
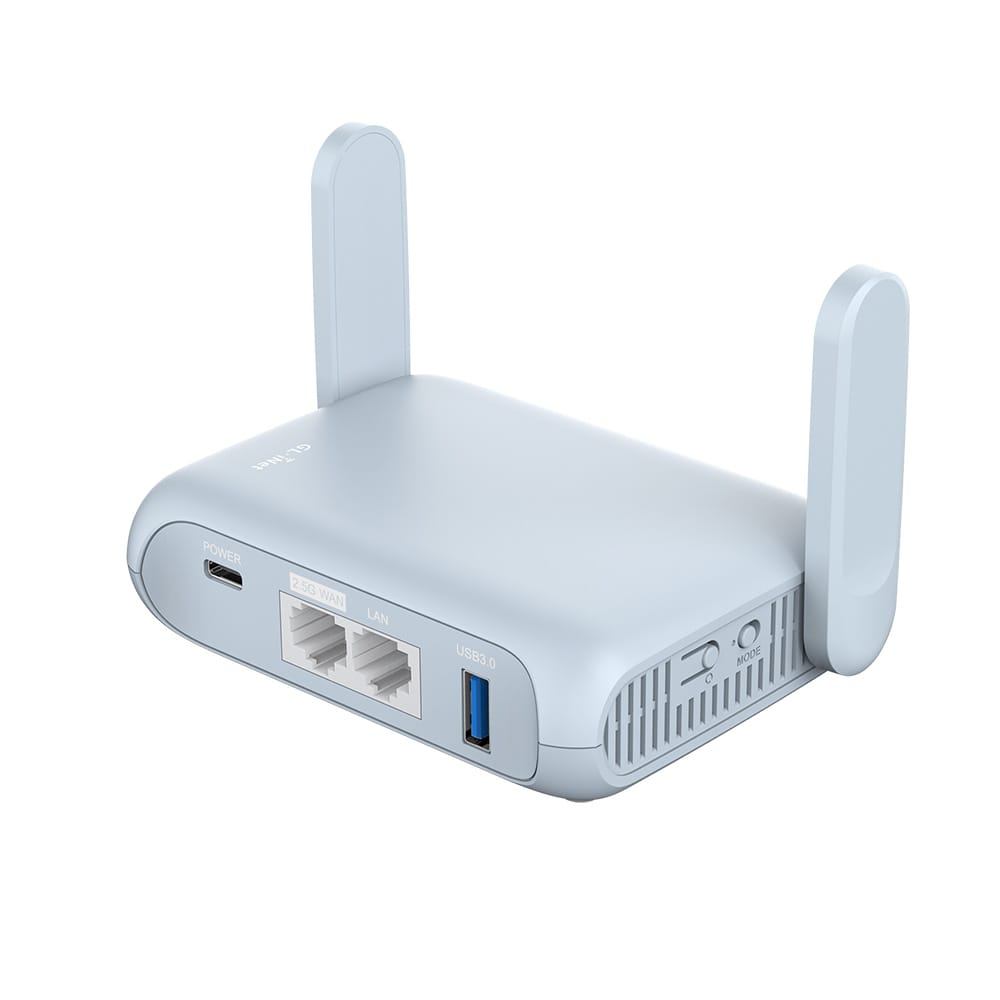
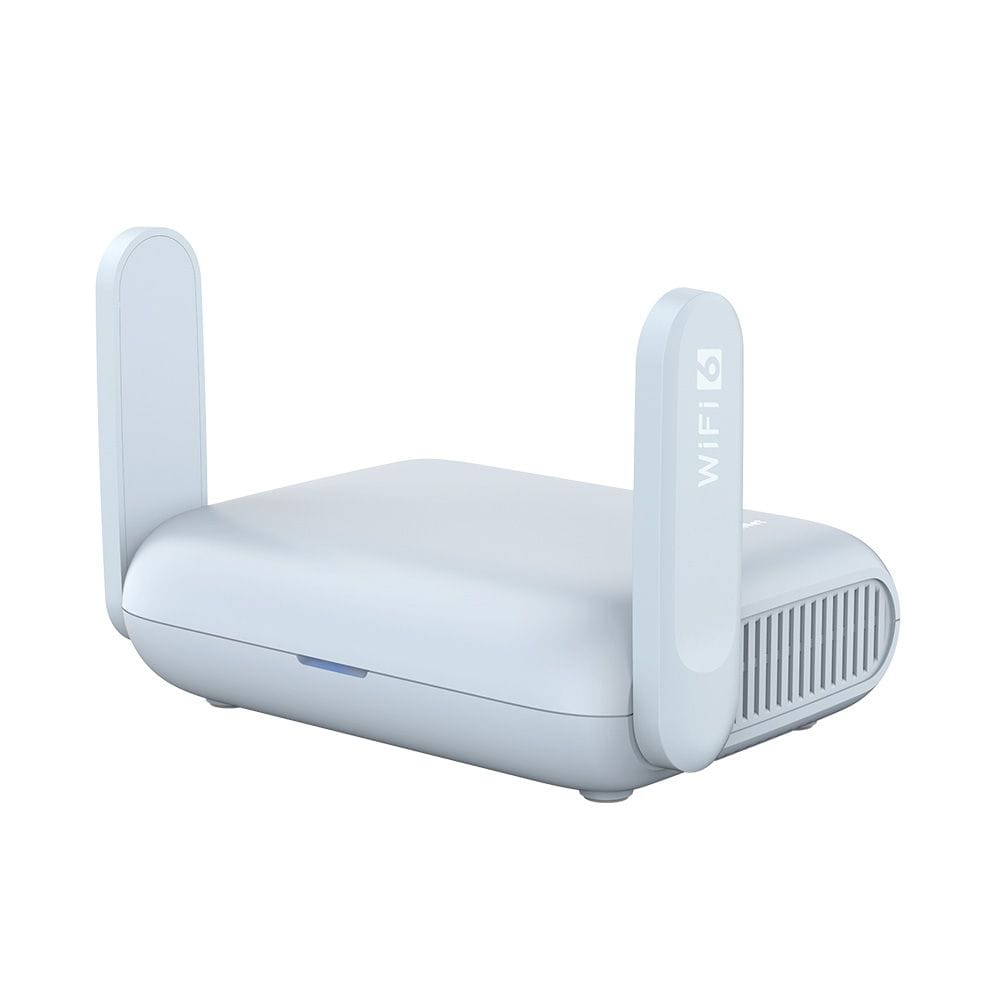
The Beryl AX:
- Runs OpenWRT
- Supports multiple WAN types (Wi-Fi repeater, Ethernet, USB tethering)
- Supports WireGuard and OpenVPN
- Offers full routing control
- Is often easier to find and less ecosystem-locked
The narrative online is that the Beryl AX is great for travel — but not for traveling with UniFi gear.
What does not work?
(And Why)
Before I got this working, I tried the “obvious” solutions - spoiler alert, they did not work.
Attempt 1 — Recreate My Home SSID on the Beryl AX
My first idea was simple:
- Create the exact same SSID name as my home network
- Use the exact same password
- Let the UniFi Protect G3 Instant auto-connect
In theory, it should reconnect seamlessly - it didn't.
The G3 never connected to the Beryl AX.
Why?
Because SSID name and password are not enough.
The camera expects to be on the same managed network that the UDM is controlling — not just a network with the same name.
SSID cloning does not recreate the original network topology.
Attempt 2 — Re-Adopt the Camera
Next, I tried re-adopting the camera while connected to the Beryl AX SSID - that also failed.
I received this error message:
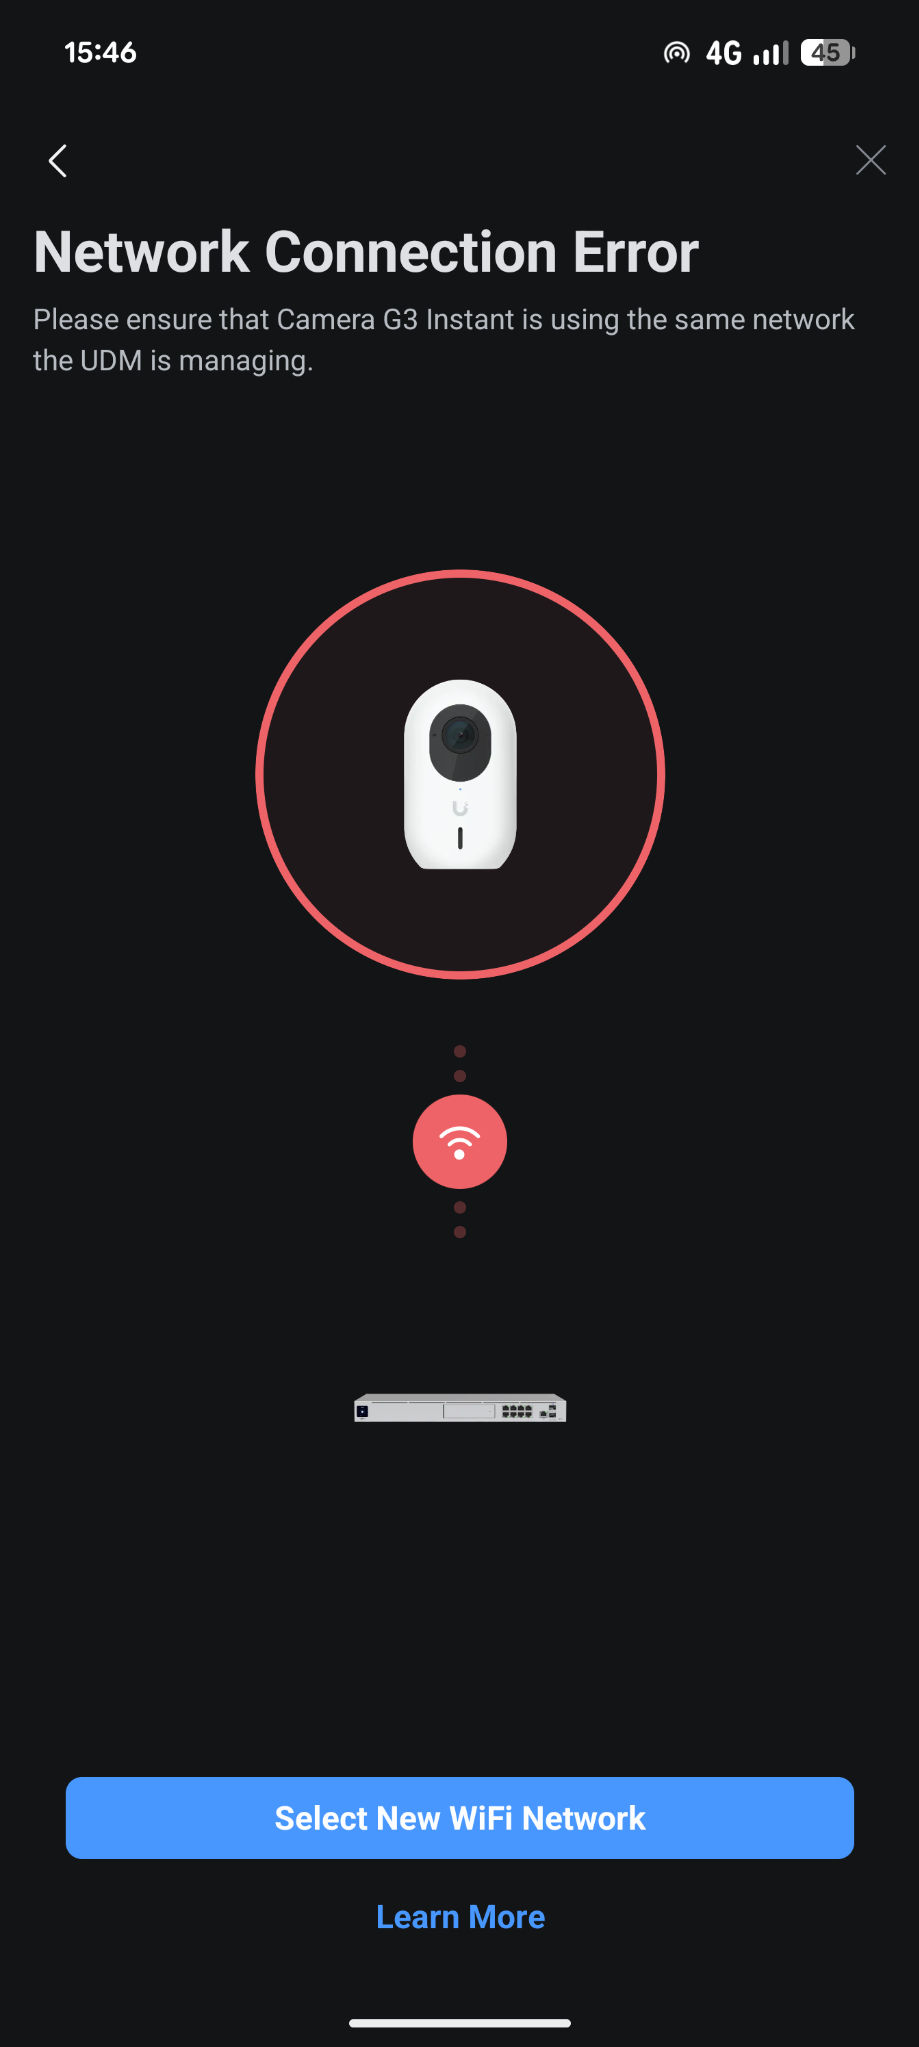
The camera wasn’t just looking for Wi-Fi — it was expecting to exist inside the same managed network domain as the UDM.
This make the situation a bit more clear - this wasn't a Wi-Fi issue, it was a routing + layer 3 topology issue.
The setup that actually worked
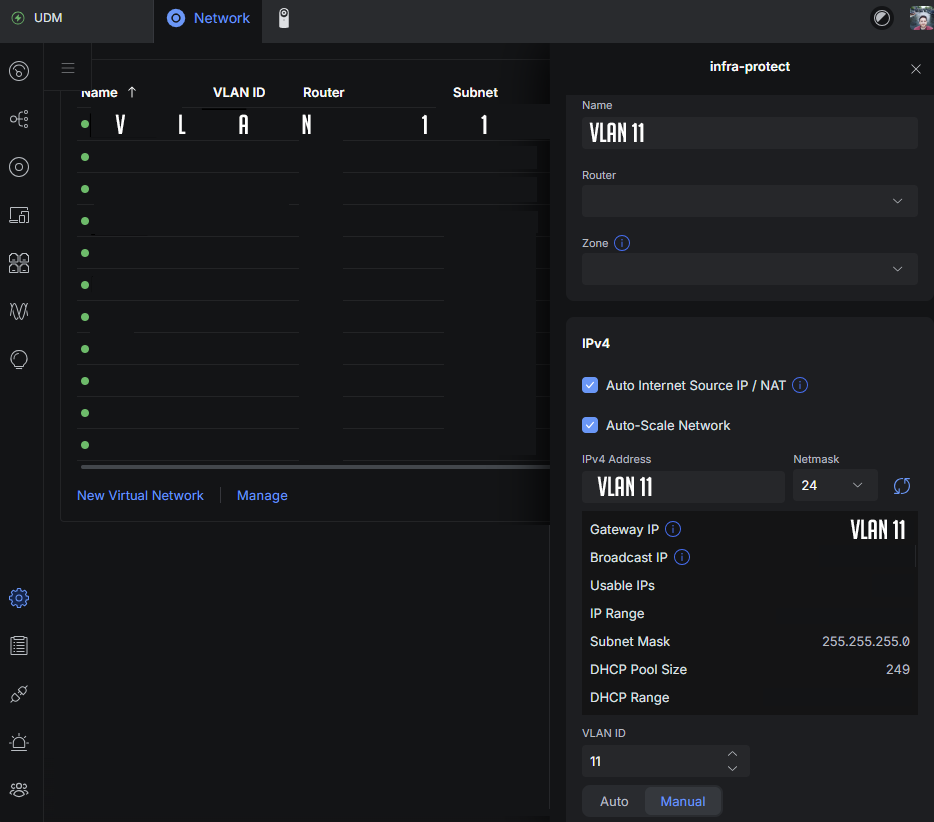
Step 1 — Re-Segment Protect Devices at Home
First, at home, I restructured my network on my UniFi Dream Machine.
- Created a dedicated VLAN for Protect devices
- Assigned it VLAN 11
- Used subnet:
x.x.11.x
This isolated all cameras into their own network segment.
Now Protect devices had predictable routing and clean separation.
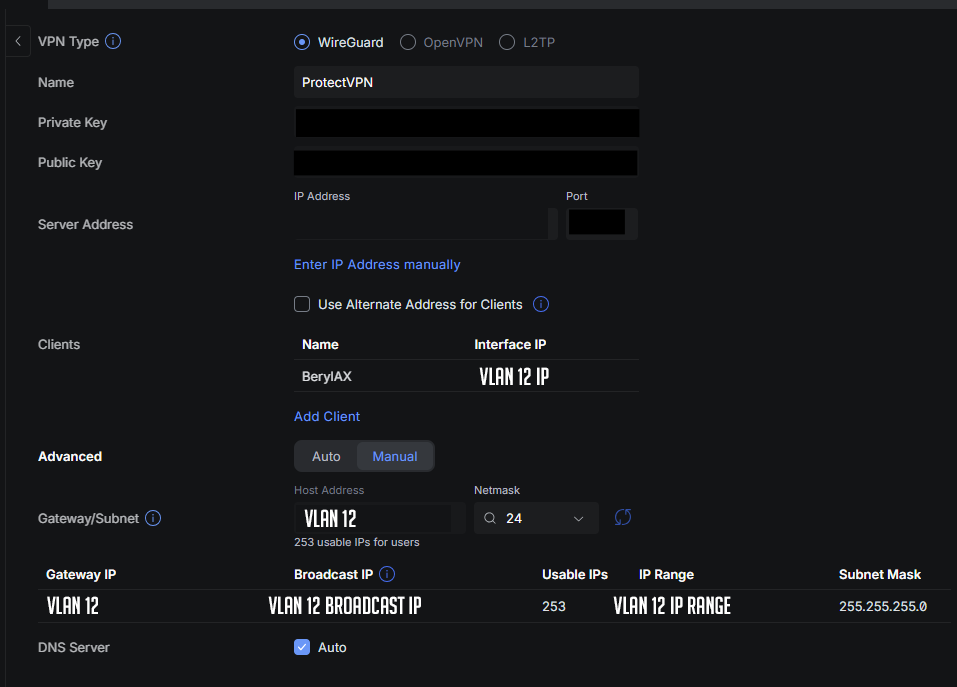
Step 2 — Configure a WireGuard Server on the UDM
Second, we'll configure a WireGuard Server to allow remote VPN connections to our home network.
- I configured a WireGuard VPN server on the UDM
- Assigned it VLAN 12
- Used subnet:
x.x.12.x
This creates a secure tunnel endpoint for remote devices.
Now we have:
- VLAN 11 → Protect Devices
- VLAN 12 → VPN clients
Clean structure for future policies.
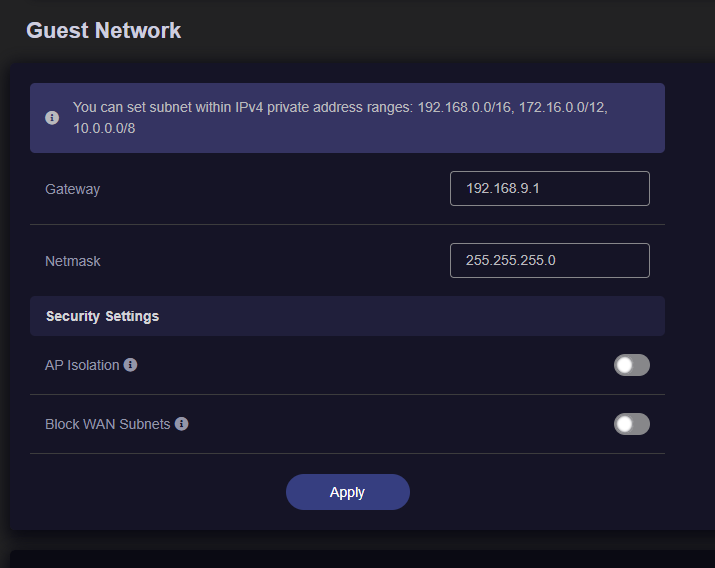
Step 3 — Configure the Beryl AX Guest Network
Next, we'll import the WireGuard config file from the UDM to the Beryl AX.
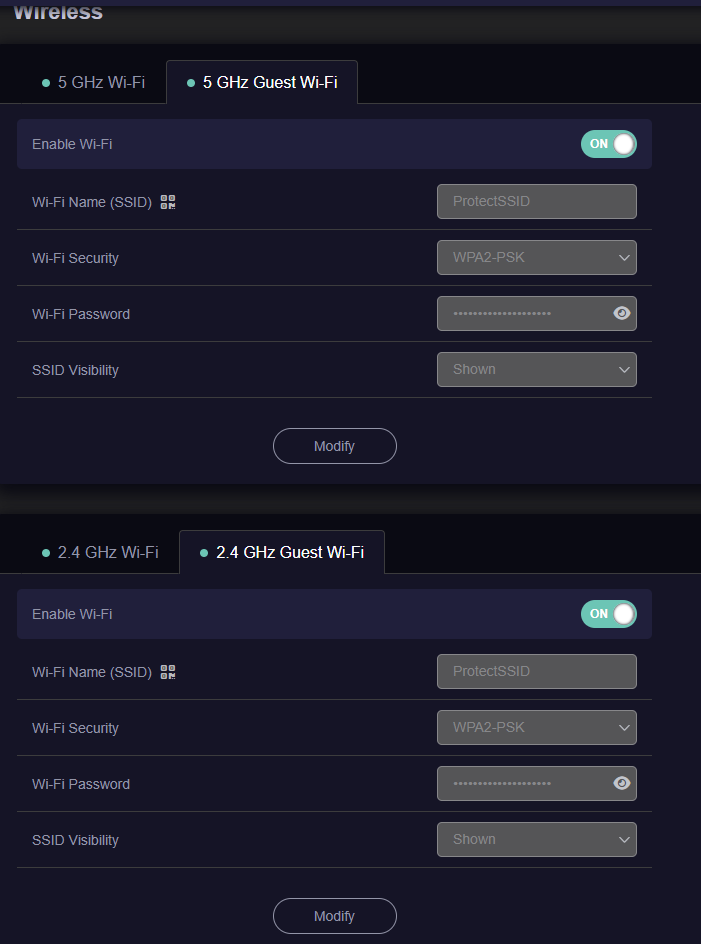
- Give your Guest Network any name you'd like - I went with ProtectSSID
- As we won't use it as a real guest network - you can un-check "Client Isolation" in its settings as it might interfere with firewall policies
- Imported the WireGuard configuration file from the UDM
- Switched VPN mode to Policy Based
- Configured only the Guest network to pass traffic through the VPN
This ensures:
- Normal traffic stays local
- Only camera traffic routes through WireGuard
Then I updated the Allowed IPs list in the WireGuard configuration to include:
0.0.0.0/0(as we go with a Policy Based VPN Tunnel - we'll direct all traffic) - otherwise, we could specify the correct VLAN subnet (11 in our case)
This tells the Beryl AX - Route traffic for Protect devices back through the VPN tunnel.
This is the critical step.
Without correct Allowed IP configuration, traffic won’t properly route to VLAN 11.
Step 4 — Switch the Already Adopted Camera’s Network
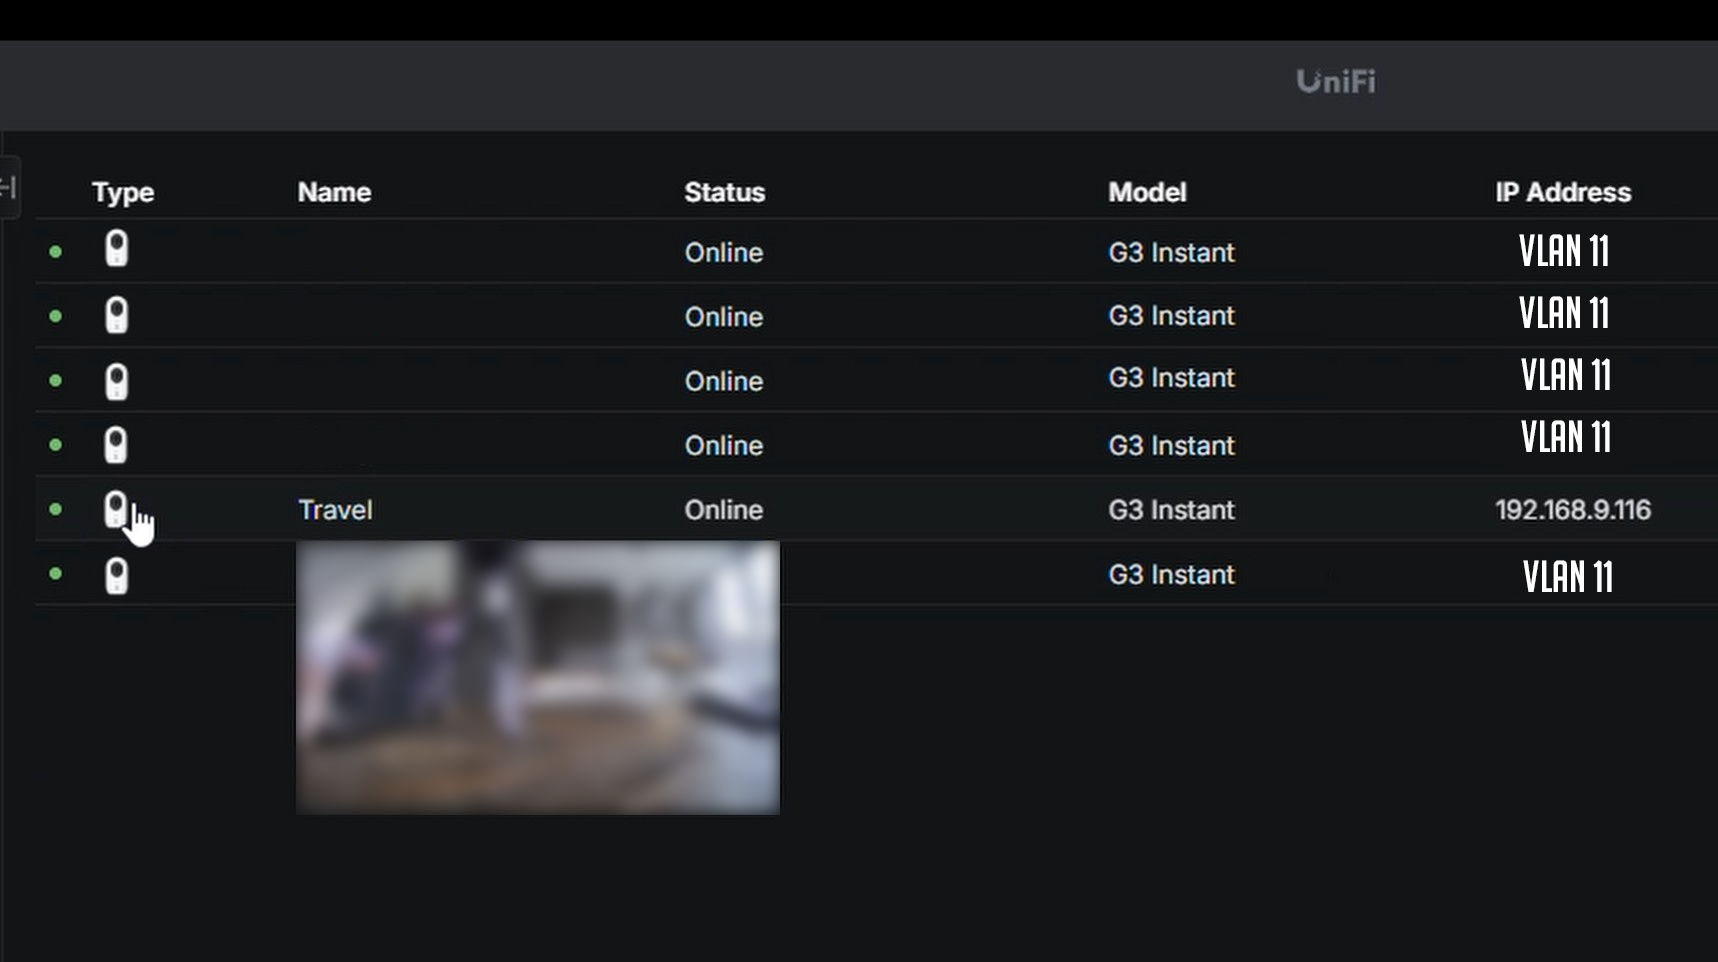
Now, instead of re-adopting the camera, go into the Unifi Protect dashboard and:
- Opened the settings of the already adopted camera
- Changed its Wi-Fi network to ProtectSSID
The camera was already adopted before doing this.
No factory reset required.
Once it connected, traffic is routed:
Camera → Beryl AX Network → WireGuard → UDM → VLAN 11 → Protect
Step 5 — Verification
To confirm everything was working:
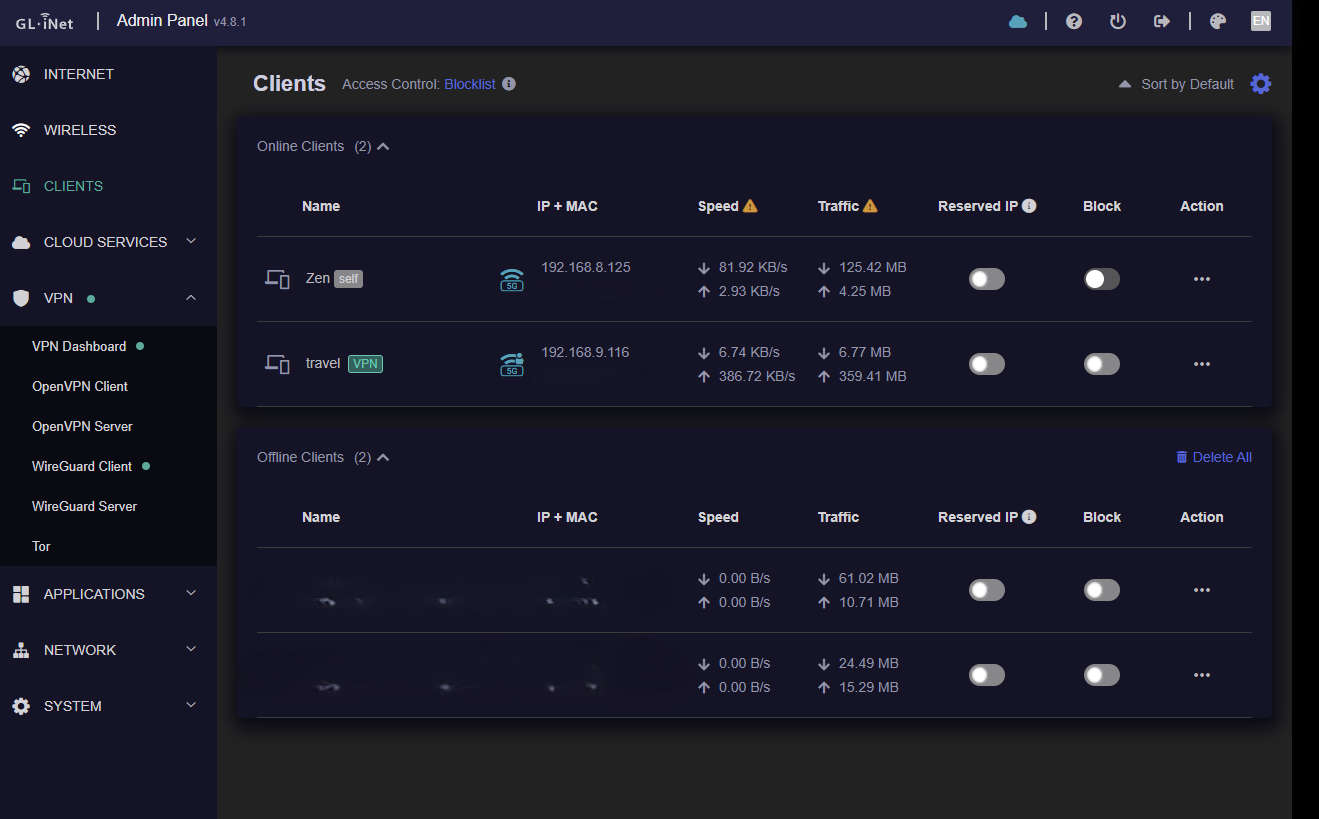
I checked the client list on the Beryl AX.
The camera appeared:
- As a connected client
- With a VPN indicator
At this stage you can tether the Beryl AX to your mobile phone (or as hotspot - not running on Wi-Fi), and you should still see the camera as connected in the Beryl AX client list.
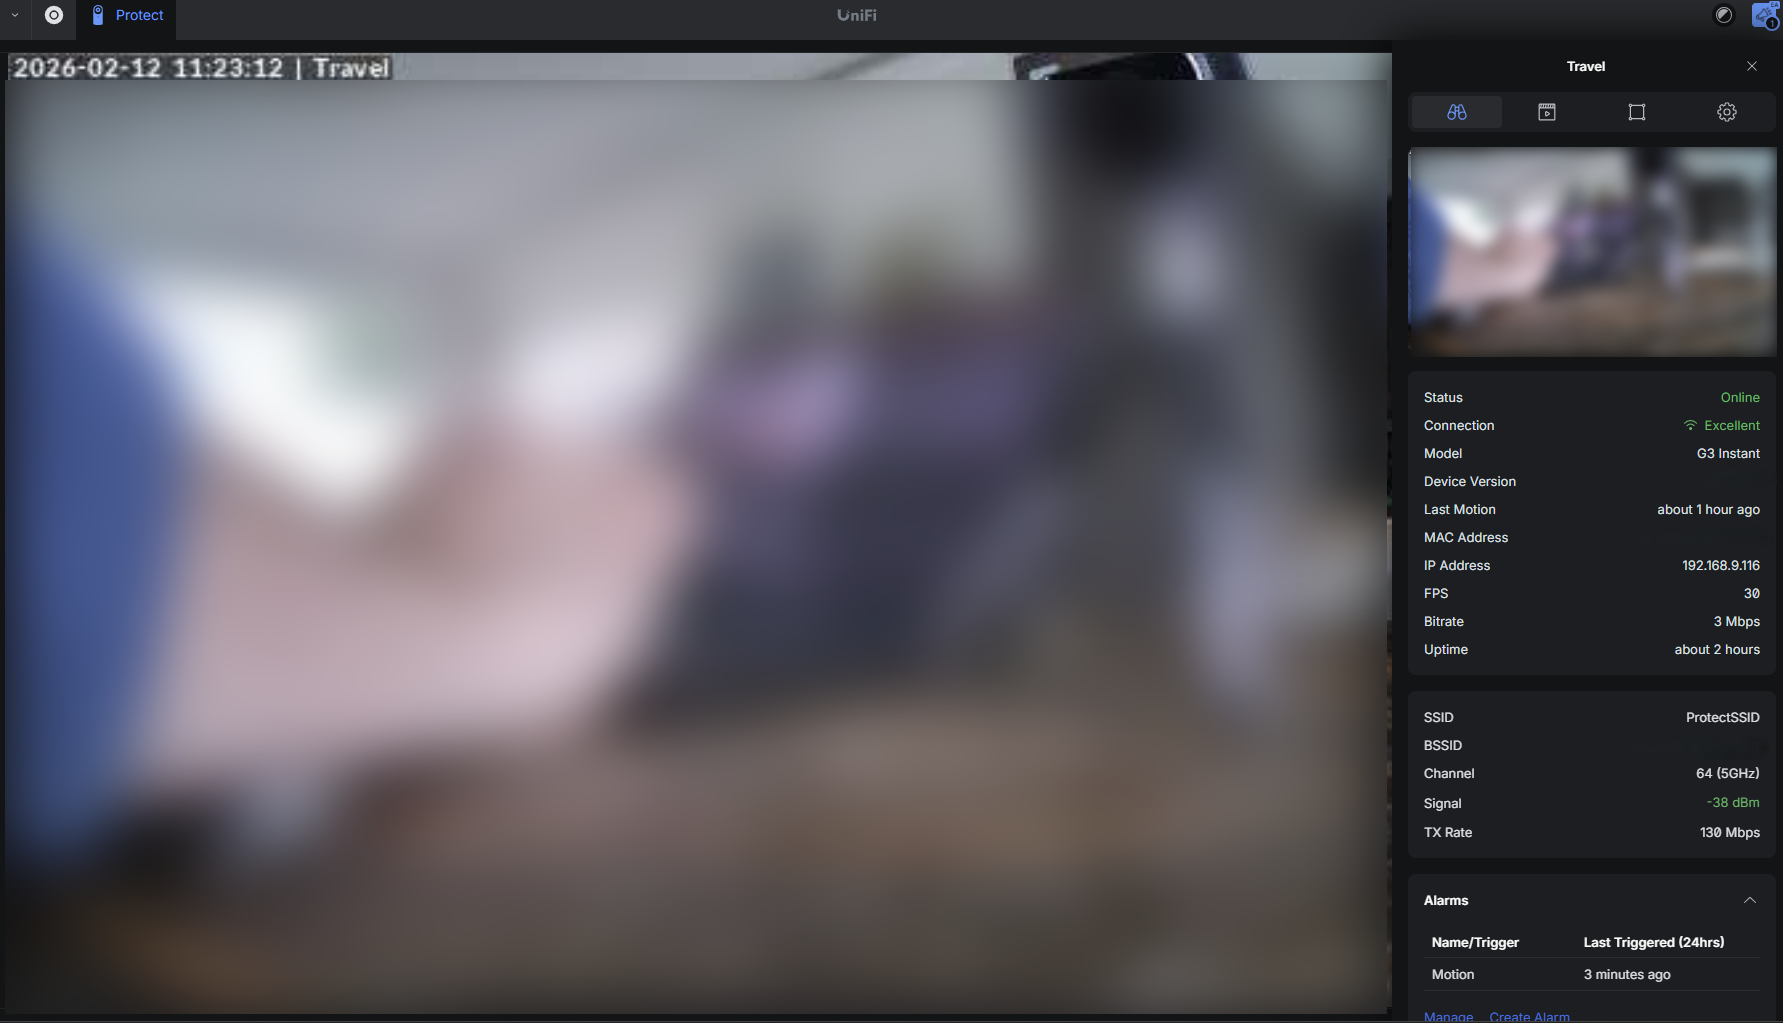
Now go to the Protect Dashboard, and you should see the camera appears in the dashboard - and as we can we, our camera has an IP address of our guest network device.
Why this works
The key principle is - we are not cloning the network, we are extending it.
Which is exactly what the UTR does (with the help of Teleport)
Instead of faking the SSID, you:
- Created a clean VLAN structure
- Built a routed VPN path
- Policy-routed only the camera traffic
- Ensured proper allowed IP ranges
The camera believes it is inside the expected routed environment.
Because from a layer 3 perspective — it is.
What This Proves
The UniFi Travel Router makes this easier out of the box.
But the Beryl AX is not incapable.
It simply requires proper VLAN segmentation and policy-based WireGuard routing.
If we understand routing fundamentals, it works flawlessly.
When this method is Ideal?
This setup is perfect if:
- You already own a Beryl AX (or other capable travel router)
- You want full OpenWRT control
- You’re comfortable with VLANs and VPNs
- You prefer flexibility over ecosystem lock-in
- You don't want to wait till UTR is back in-stock
It may not be ideal if:
- You want zero-configuration
- You don’t want to touch routing
- You want full UniFi-native experience